India is one of the most greenhouse gas emitting countries in the world, it contributes around 7% of the global greenhouse gas emissions. It is also one of the countries with high air pollution. And most of the air pollution comes with traffic, which is the heavy usage of vehicles, with more population the vehicle per person also increases. But vehicles release harmful gases. To solve this issue we may use electric vehicles, and which can carry large mass of people, like buses, and they should be electric to solve the pollution problem. But for a lot of heavy batteries and a lot of current consumption for their charging is very impactful on our greenery again. Mining of Lithium is very hazardous for the environment and the electricity to charge those batteries comes from burning of coal which is also dangerous and polluting.
Project:
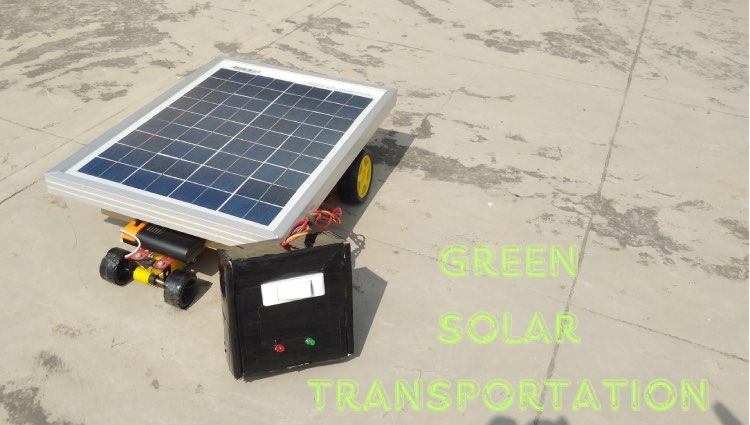
To solve this problem, I have made the project, Green Solar Transportation. This project features Solar Electric Buses and Smart Solar Charging Stations.
These Electric Buses run on simple and easy to use batteries, but to save more energy it also uses a Solar Panel which is present the bus and when sunlight falls on it, it uses Solar Energy. Solar Charging Stations for these busses are very accessible, present within a short range of distance from each other. In Solar Charging Station we can charge the battery of the bus. Each Solar Each Solar Charging Station features a Swappable Battery System, allowing the bus to exchange its discharged battery for a fully charged one. There will also be a person in charge at the Solar Charging Station who takes the discharged battery and charges it and keeps the charged battery aside, waiting for the next bus to come. As the project also features usage of Solar Energy Buses, it would give the bus a long range. For now, this is only a model/miniature version, like I made this project on a small-scale.
Components Used:
- CN3791 12v MPPT Solar Battery Charging Module
- 12v 10-25W Solar Panel
- Arduino Uno
- 2-Channel Relay
- Voltage Sensor
- LT1371
- ADP2302ARDZ-5.0-R7
- 2x BO Motors
- 18650 Li-ion Cell & 18650 Li-ion Cell Holder
- 2x LEDs
- Switch
- Wires & JST Connectors
- 3x 100uF 10% 10v Capacitors
- 0.047uF 50v Capacitor
- 4700pF 50v Capacitor
- 2k Ohm 1/8W Resistor
- 1N5821 Schottky Diode
- 18.7k Ohm 1/4W Resistor
- 2x 22uF 25v Capacitor
- 6.8uH 4.8A Fixed Inductor
- 6.19k Ohm 1/4W Resistor
- 100k Ohm 1/8W
- 0.1uF 25v Capacitor
- 10uF 25v Capacitor
- MBRS320T3 Diode
- DO3316P-103MLD Inductor
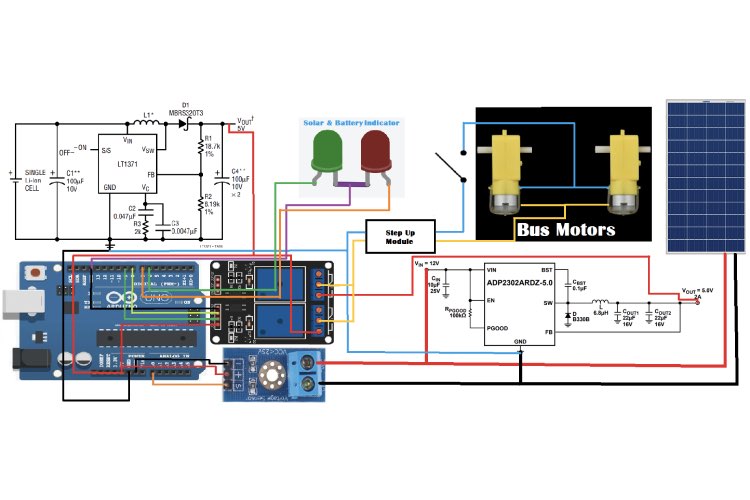
Circuit Diagram:
Explanation of IC Selection & Switching
IC-1 ~ LT1371
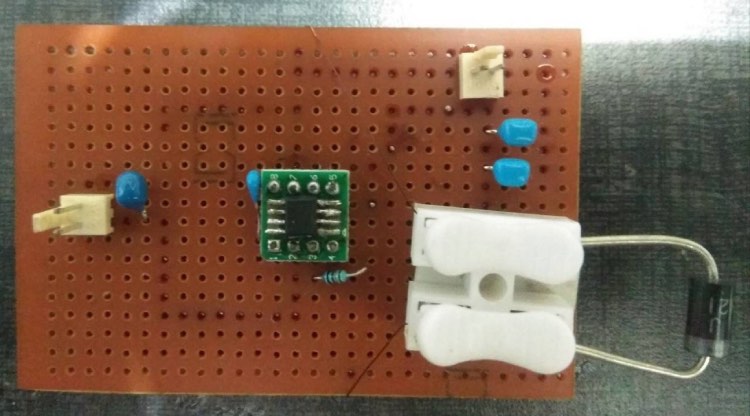
It is better is to use less Lithium as mining of it affects our environment so, for this I would be using Lithium-Ion Cell as one of the power source. But we cannot easily run the project with the Li-ion cell; this is where the IC LT1371 from Analog Devices Inc. comes, this IC can boost the voltage of a Li-Ion cell to 5v 1.8A, which makes it move easier to run.
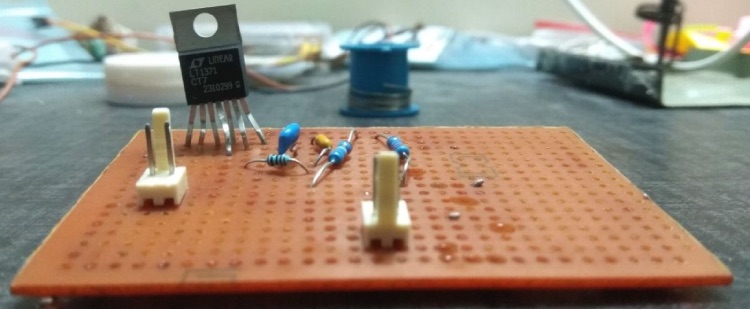
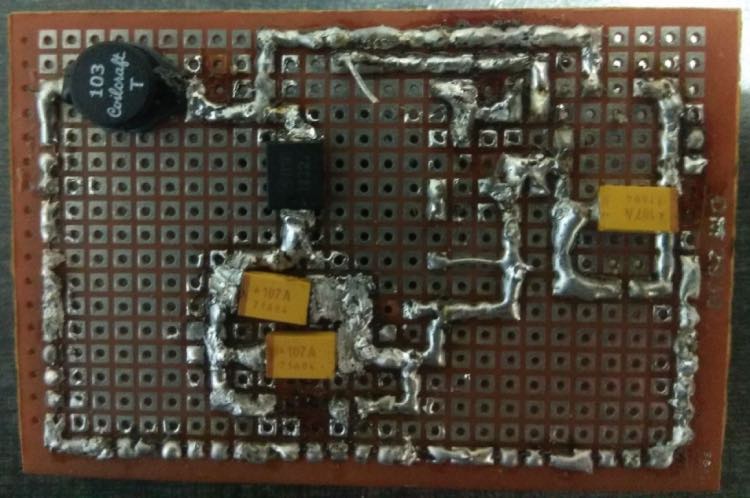
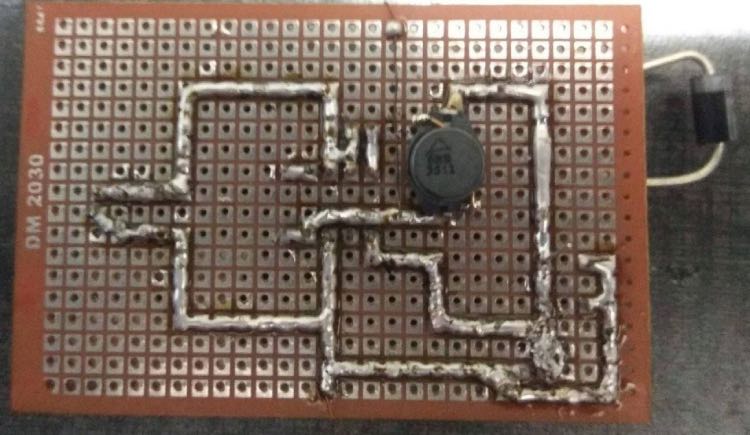
The circuit looks like this, but I ensured proper connections by placing a copper wire underneath the solder.
IC-2 ~ ADP2302
As we also thought to use a Solar Panel on top of our bus, and to perform smooth switching between Solar Energy and Battery Power, we need to have the voltages of our Solar Panel and voltage from IC-1 the same. So, I am using ADP2302 from Analog Devices Inc. to step-down 12v from the Solar Panel to 5v 2A.
Switching
This part is very crucial for the project because this is the place where the bus will be shifting between Solar Energy from Solar Panel and Battery Energy. This includes three components: Arduino Uno, Voltage Sensor & Two Channel Relay.
Here the voltage sensor detects the voltage from the Solar Panel connected to it. If the voltage from it is more than or equal to 11.8v it automatically triggers the Relay Channel-2 which then gives it the 5v 2A from the Solar Panel. But when there is no sunlight, that is when the voltage of the solar panel is below 11.8v then it triggers the Relay Channel-1 which uses the voltage boosted from the battery.
Indicators:
Here there are two indicators in the controller box, Red Indicator which indicates the use of the battery power and the Green Indicator which indicates the use of Solar Energy.
Step-Up Module:
While testing my project, I saw that the 5v 2A from the ICs is not sufficient for the motors to run with ease, this is due to the heavy weight of my Solar Panel, it weighs around 1.5-2 KGs. So, to get a higher voltage I used a Step-Up Module. You can also use a step-up module in this kind of situation. The Step-Up module you choose depends on various factors like type of your motor, torque of your motor, voltage rating of your motor & weight of the load it carries. Here is a list of easily available step-up modules for this use: XL6009E1, MT3608, XY-016, SX1308, LM2587, LM2577, XL6019 and you can even use a generic step-up module. Also keep in mind that while using an Adjustable Step-Up Module adjust the output voltage within the voltage rating of your motors.
Charging Circuit:
Charging Process Explanation:
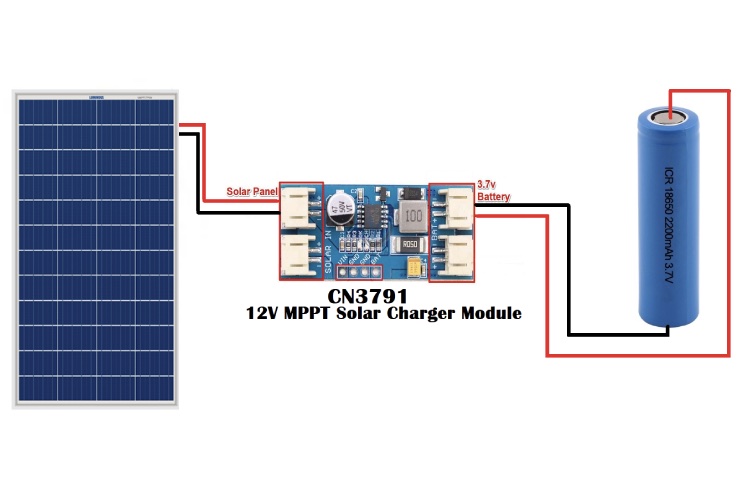
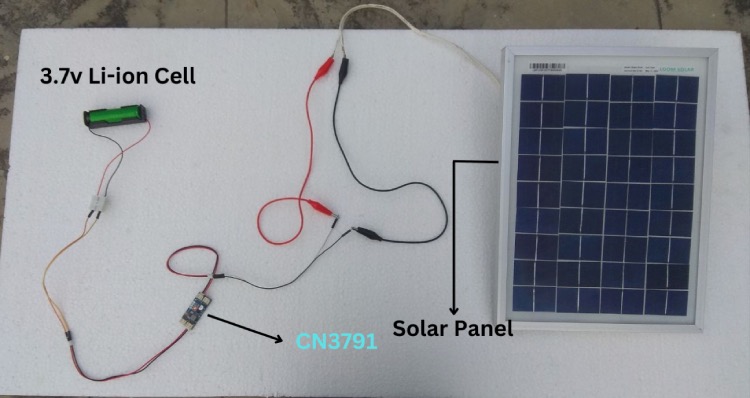
This is the Charging Circuit is mainly depended on one module which is the CN3791 12v MPPT Solar Charger Module. Connect the Solar Panel to the Solar Input Pin on the module and connect the output to a 3.7v Li-ion Cell. You can also see in the image below that a red led is glowing in CN3791 Module, which indicates that the battery is not fully charged and is being charged. I have chosen this module because it has many features like MPPT(Maximum Power Point Tracking), Charging Status Indication, Soft Start, Battery Overcharge Protection & Automatic Conditioning of Deeply Discharged Batteries.
Complete Project Code
#define Sensor A0

float vOUT = 0.0;

float vIN = 0.0;

float R1 = 30000.0;

float R2 = 7500.0;

const int SolarRelayPin = 8;

const int BatteryRelayPin = 9;

const int SolarIndicator = 6;

const int BatteryIndicator = 7;

void setup() {

  pinMode(SolarRelayPin, OUTPUT);

  pinMode(BatteryRelayPin, OUTPUT);

}

void loop() {

  int value = analogRead(Sensor);

  vOUT = (value * 5.0) / 1024.0;

  vIN = vOUT / (R2 / (R1 + R2));

  if (vIN >= 11.8) {

    digitalWrite(SolarRelayPin, HIGH);

    digitalWrite(BatteryRelayPin, LOW);

    digitalWrite(SolarIndicator, HIGH);

    digitalWrite(

BatteryIndicator, LOW);

  } else {

    digitalWrite(SolarRelayPin, LOW);

    digitalWrite(BatteryRelayPin, HIGH);

    digitalWrite(SolarIndicator, LOW);

    digitalWrite(BatteryIndicator, HIGH);

  }

}

